How to Use a Clothes Steamer: The Ultimate Guide to Wrinkle-Free Style

How to Use a Clothes Steamer: The Ultimate Guide to Wrinkle-Free Style
Wrinkles: great on puppies, not so great on your favorite shirt. If you’ve ever pulled a crumpled blouse out of the laundry pile (or your suitcase) and thought, “There’s no way I’m ironing that,” then it’s time to meet your new best friend: the clothes steamer.
But if you’re asking yourself how to use a clothes steamer, don’t worry—you’re not alone. A lot of people own steamers but don’t quite know how to get the most out of them. The good news? It’s super easy, surprisingly fast, and—dare we say—kinda satisfying.
In this guide, we’ll cover everything you need to know about using a clothes steamer like a pro, whether you’re new to steaming or just want better results. Ready to banish wrinkles the easy way? Let’s get steamy.
1. Why Choose a Clothes Steamer Over an Iron?
Before we dive into the how-to part, let’s answer the big question: Why steam instead of iron?
An iron uses direct contact and pressure to flatten wrinkles. A clothes steamer, on the other hand, relaxes the fabric’s fibers with a gentle flow of hot steam—no pressing required.
Benefits of Using a Clothes Steamer:
-
Faster setup – No ironing board needed.
-
Gentler on fabrics – Great for silks, satins, and delicate blends.
-
Easier to use – Just hang and steam. No fancy techniques.
-
Multi-purpose – Steam curtains, upholstery, even sanitize your couch!
So if you’re wondering how to use a clothes steamer and why you’d even bother, think of it as the smart, stress-free alternative to old-school ironing. Ideal for everyday wear, travel emergencies, and fabrics that flinch at the sight of a hot metal plate.
2. Know Your Steamer: The Two Main Types
Understanding how to use a clothes steamer starts with knowing which kind of steamer you have (or should have). There are two basic types:
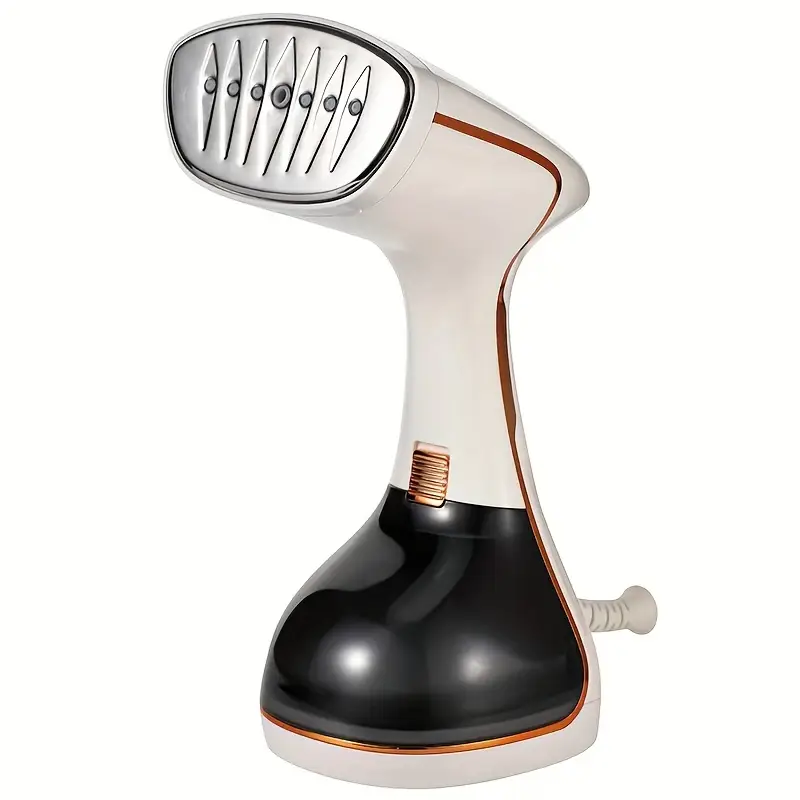
🧳
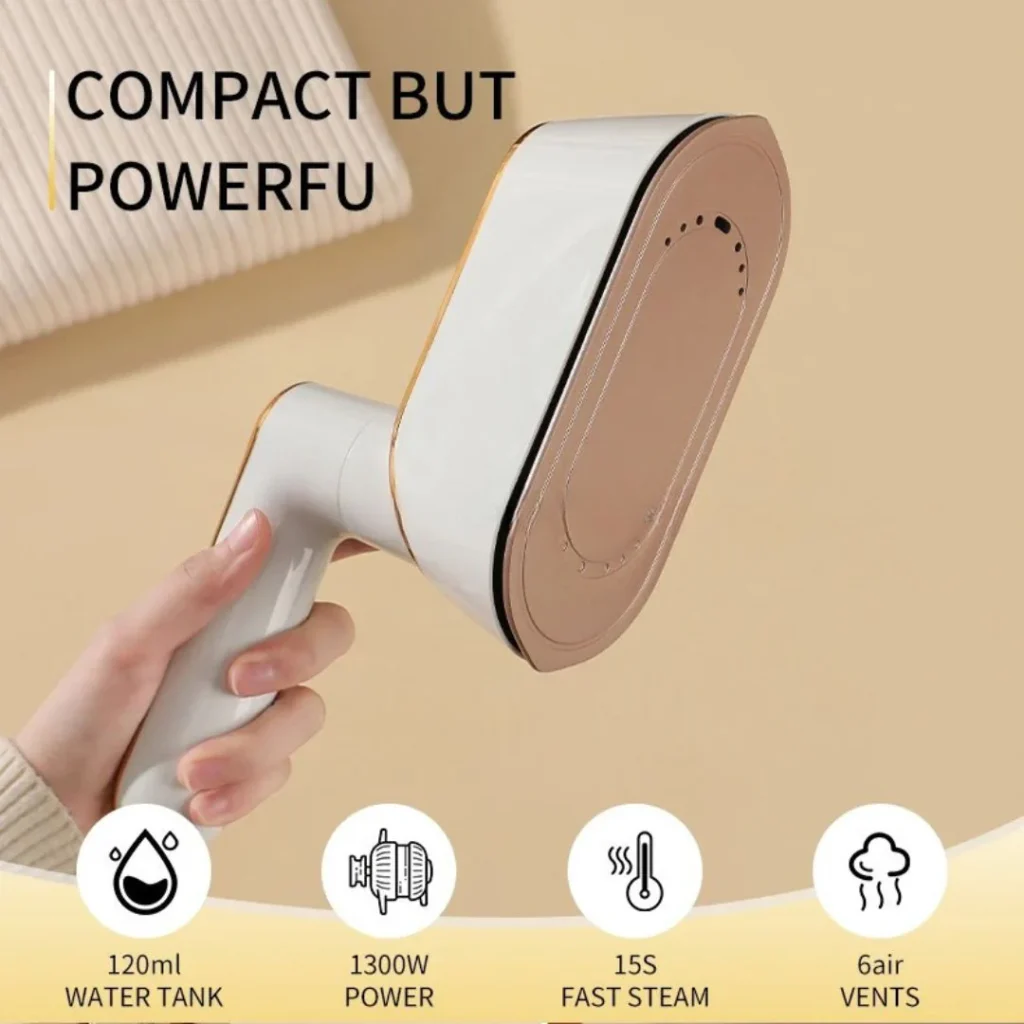
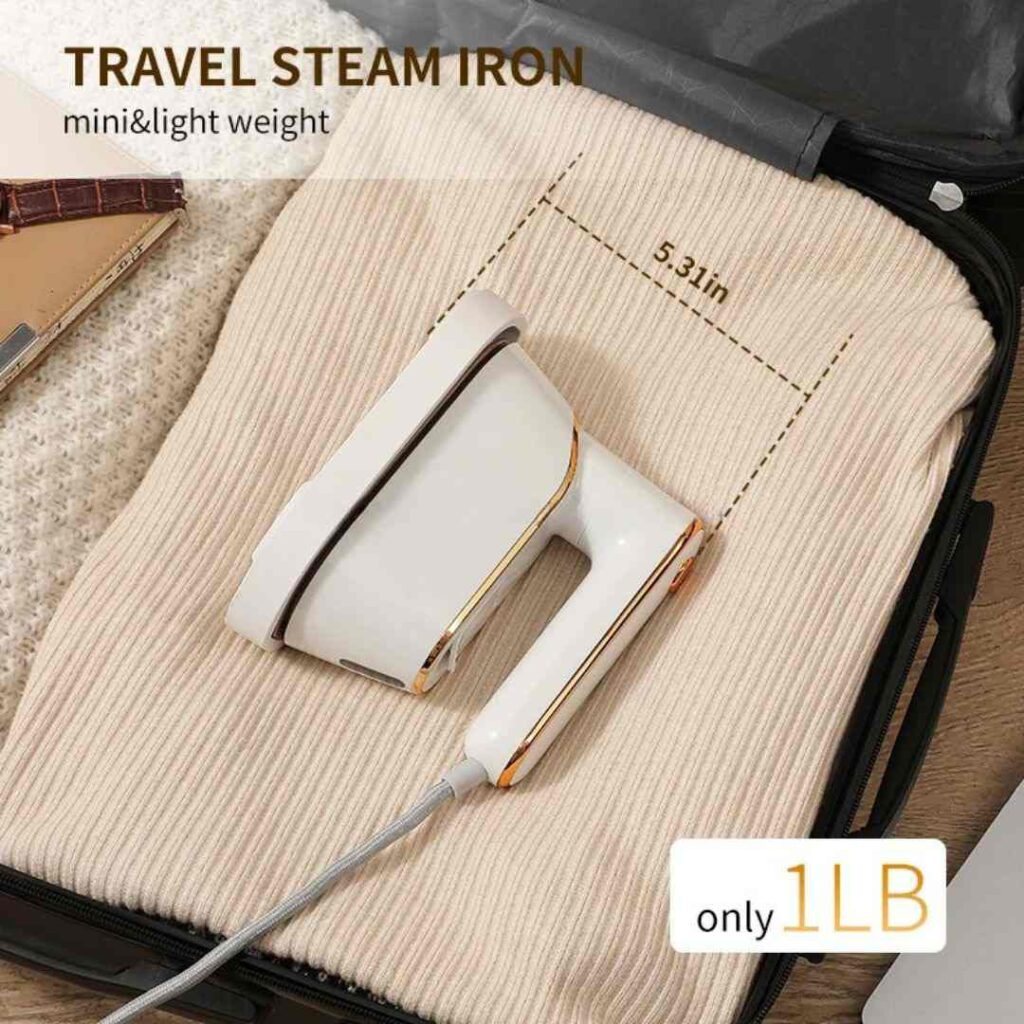
Handheld Steamers
Compact and lightweight, these are perfect for:
-
Travel
-
Quick touch-ups
-
Small spaces (think dorms or studio apartments)
Pros: Portable, easy to store, heats up quickly
Cons: Smaller water tanks, less powerful steam flow
🧺
Standing or Upright Steamers
These are full-size, often with a clothes hanger or pole built in. Great for:
-
Multiple garments at once
-
Heavy fabrics
-
Home use
Pros: Strong steam output, long runtime
Cons: Takes up more space, not as portable
Once you know your model, using it becomes a breeze. Let’s move on to the practical stuff.
3. How to Use a Clothes Steamer: Step-by-Step | How to Use a Clothes Steamer
So you’ve got your steamer. Now what? Whether you’re smoothing out a wrinkly dress shirt or freshening up a sweater that’s been living on a chair all week, here’s exactly how to use a clothes steamer from start to finish.
✅
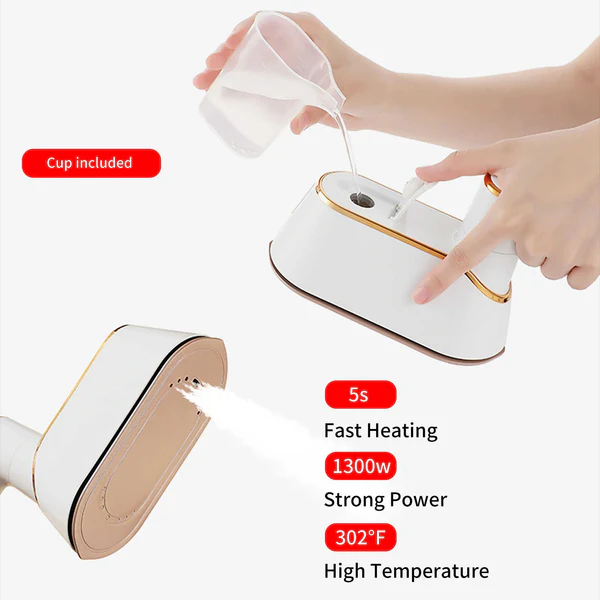
Step 1: Fill the Water Tank
Use distilled water if you can—it prevents mineral buildup that can clog your steamer over time. Fill the tank to the indicated max line (no overachieving here, it’ll just leak).
✅
Step 2: Hang Your Garment
Hang your clothing on a sturdy hanger somewhere vertical: a shower rod, door hook, or garment rack all work. Wrinkles relax better when gravity’s on your side.
✅
Step 3: Turn On the Steamer and Let It Heat Up
Plug in the steamer and wait for it to produce a steady stream of steam—usually between 30 seconds and 2 minutes. Some models beep when they’re ready; others just start hissing (the good kind).
✅
Step 4: Start Steaming
Hold the steamer upright and gently run it downward along the garment.
-
Keep the steamer head about 1-2 inches from the fabric.
-
Don’t press the steamer into the clothes—let the steam do the work.
-
Use your free hand to gently pull the fabric taut as you steam.
Start from the top (collars, shoulders) and work your way down. Focus on problem areas like cuffs, hemlines, and underarms.
✅
Step 5: Let the Garment Dry
Your clothes might feel a little damp immediately after steaming. That’s normal. Let them air-dry for a couple minutes before putting them on or storing them.
Boom. Wrinkle-free and ready to go.
4. Fabrics That Love (or Hate) Steam
The beauty of steaming is how fabric-friendly it is. But that doesn’t mean it’s universal. Here’s a quick cheat sheet to help you decide what to steam—and what to leave to the pros.
👍
How to Use a Clothes Steamer | Perfect for Steaming:
-
Cotton & Linen – Might take a little longer, but steam works beautifully.
-
Silk & Satin – Gentle steaming is safer than ironing for these delicates.
-
Polyester & Blends – Super steamable and wrinkle-resistant.
-
Wool & Cashmere – Steaming refreshes and deodorizes without damaging fibers.
👎
Be Cautious With:
-
Velvet – Can be steamed from a distance, but never pressed.
-
Leather & Suede – Just don’t. Moisture is not their friend.
-
Heavily Structured Items – Like blazers with interfacing or padded shoulders. Steam only lightly from the inside if needed.
When in doubt, check the label. If it says “Do not steam,” it’s probably best to follow that advice unless you’re feeling brave and experimental.
5. Bonus Tips for Pro-Level Steaming
Want your clothes to look extra crisp and fresh? These tips will help you go from decent to dazzling.
🔹 Use Slow, Vertical Strokes
Quick, jerky movements won’t get the job done. Think calm, steady glides like you’re painting a masterpiece.
🔹 Steam from the Inside Out | How to Use a Clothes Steamer
For tricky items like silk blouses or embellished pieces, flip them inside out and steam the lining side. This prevents water spots and protects delicate detailing.
🔹 Use Attachments (If You Have Them)
Some steamers come with brush or crease attachments—super helpful for thicker fabrics or sharper folds.
🔹 Don’t Forget to Clean It!
Even with distilled water, your steamer will benefit from a monthly vinegar rinse to keep it clog-free and hissing happily.
6. Steamer FAQs: Because We Know You’re Wondering
❓Can I use a steamer on dry-clean-only clothes?
Yes, most of the time! Steaming is gentle and safe for many dry-clean-only items—just avoid structured pieces or anything labeled “no steam.”
❓Will a steamer remove odors?
Absolutely. Hot steam helps kill bacteria and neutralize smells. Perfect for refreshing clothes between wears.
❓Is steaming better than ironing?
It depends on what you need. Steaming is faster and gentler. Ironing is better for creases and sharp lines. Most wardrobes benefit from having both options.
❓How long does it take to steam one item?
Usually 1–3 minutes for a shirt, depending on how wrinkled it is and how powerful your steamer is.
7. Steamer vs. Iron: When to Use What
Okay, so now you know how to use a clothes steamer—but when is it the better tool?
|
Use a Steamer When… |
Use an Iron When… |
|---|---|
|
You’re short on time |
You need sharp creases |
|
You’re traveling |
You’re ironing a full suit |
|
The fabric is delicate |
You need heavy-duty pressing |
|
You hate ironing boards |
You want that crisp, starched look |
Many people keep both around, and that’s totally okay. But if you’re just starting out or don’t want the hassle of ironing boards and burned hems, a steamer is your low-stress solution.
Final Thoughts: Mastering the Art of Steaming | How to Use a Clothes Steamer
By now, you should be feeling pretty confident about how to use a clothes steamer. It’s fast, it’s easy, and it’s a game-changer for anyone who wants to look sharp without turning their laundry routine into a full-time job.
Whether you’re smoothing out your morning shirt, refreshing last night’s outfit, or giving your closet a wrinkle-free glow-up, a clothes steamer helps you stay polished, professional, and stylish—with zero ironing drama.
Now go forth and steam, wrinkle warrior. Your wardrobe’s about to thank you. Contact us!